
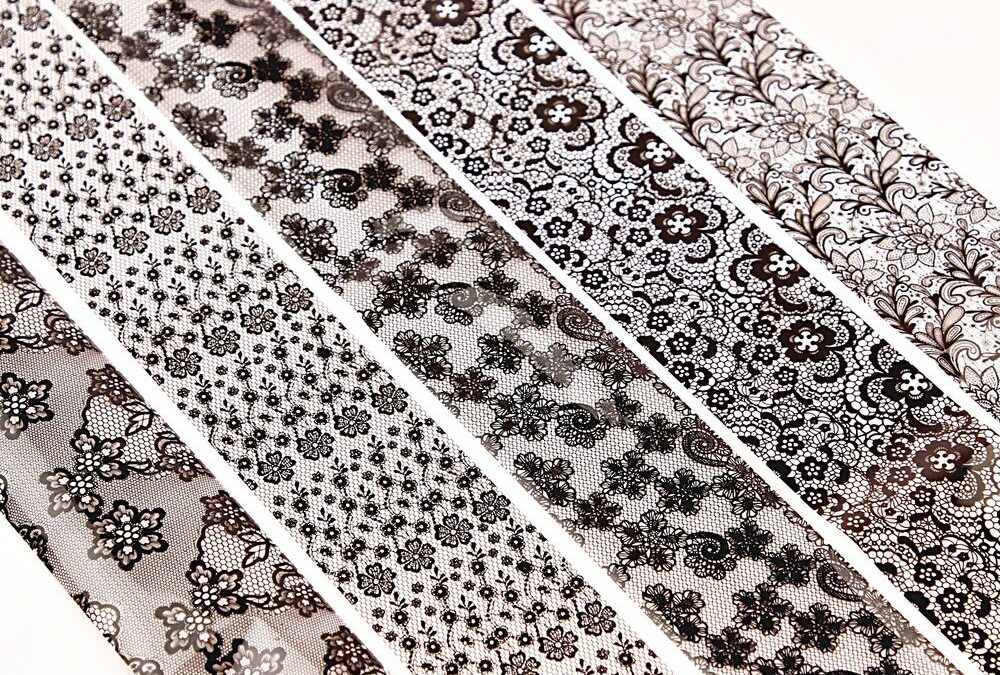
White and Black Lace Nail Foil 1 is a compact set of glossy transfer foils that pairs bright white lace patterns with deep black lace motifs for crisp monochrome nail art.
What this look is and who it suits
This tutorial shows how to execute dramatic white french tips on black nails using high-shine transfer film printed with very fine lace and floral linework. The contrast of bright white lace against a glossy black base creates a modern yet vintage-inspired French tip that reads bold in photos and elegant in person. It works on polish, gel polish and acrylic, and is particularly flattering for clients who want a statement French without color—think editorial manicures, evening events, and bridal sets with a monochrome twist.
Materials, workspace and prep checklist
Organize a clean, well-lit workspace. For this technique the only non-negotiable decorative supply is White and Black Lace Nail Foil 1; other recommended items include:
- Glossy black base: regular nail polish, gel polish, or black builder/acrylic finish
- Foil transfer glue suitable for nails (tacky white or clear adhesive designed for foil)
- Fine-tipped brush or striping brush for precise glue lines
- Small scissors to cut foil pieces and tweezers for placement
- Lint-free wipes, alcohol or cleanser for degreasing before application
- Fast-cure glossy topcoat (gel topcoat or a high-shine polish topcoat)
- Cuticle pusher, buffer and a gentle nail file for shaping
Prep natural nails, acrylics or gel the same way: remove old product if needed, shape the nail, gently buff the surface, and cleanse to remove dust and oil. For gel and acrylic, cure base layers fully before applying glue so the transfer adheres to a stable, glossy surface.
Step-by-step: crisp white lace French tips over glossy black
Follow these steps for salon-grade results; each sequence accounts for polish, gel polish and acrylic finishes.
1. Paint and cure a flawless black canvas
- Apply a thin base coat and cure if using gel. For polish, allow base coat to dry completely.
- Lay down two thin coats of glossy black. Thin coats prevent bubbling and encourage a smooth transfer surface.
- For gel and cured acrylic, ensure the surface is fully cured and glossy; lightly buffing matte spots may help adhesion but avoid over-buffing the entire surface.
2. Map the French line and apply transfer glue
- Decide the French tip shape: classic crescent, curved modern smile line, or a sharper angular edge. Use a removable stencil or a fine striping brush for precision.
- With a fine-tipped brush, apply a thin, even layer of foil transfer glue to the tip area only. The glue should be smooth and slightly tacky but not wet; follow the manufacturer’s suggested flash time for tackiness.
3. Select and position the white lace foil
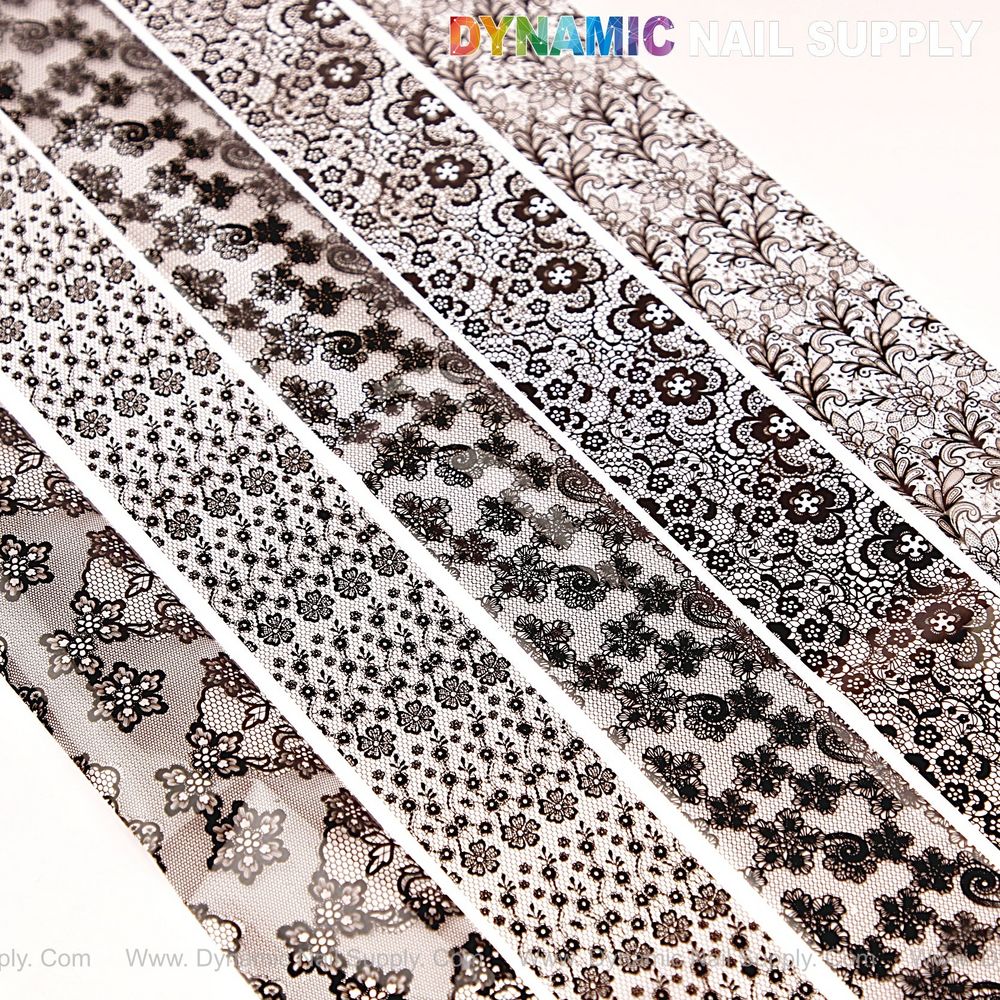
- From White and Black Lace Nail Foil 1, choose a white lace segment whose scale complements the nail width—fine mesh or narrow floral linework reads best at the tip.
- Cut a small piece slightly larger than the tip area. With the foil’s shiny carrier film facing up, position the printed side down onto the tacky glue.
- Press gently with a silicon applicator or an orange stick wrapped in lint-free material to ensure the foil contacts the entire glued region. Rub from center to edge for even transfer.
- Lift the carrier film slowly; the white lace pattern should transfer crisply to the black surface, forming a bright French tip.
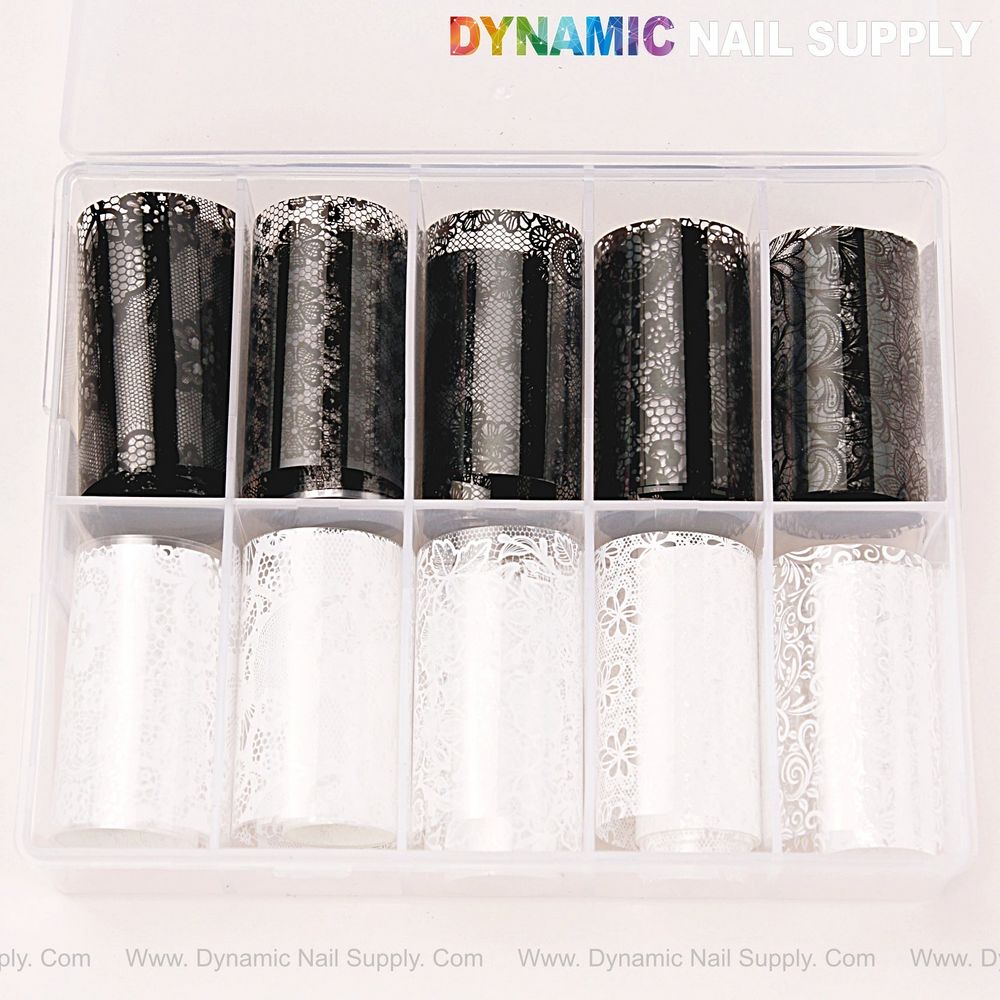
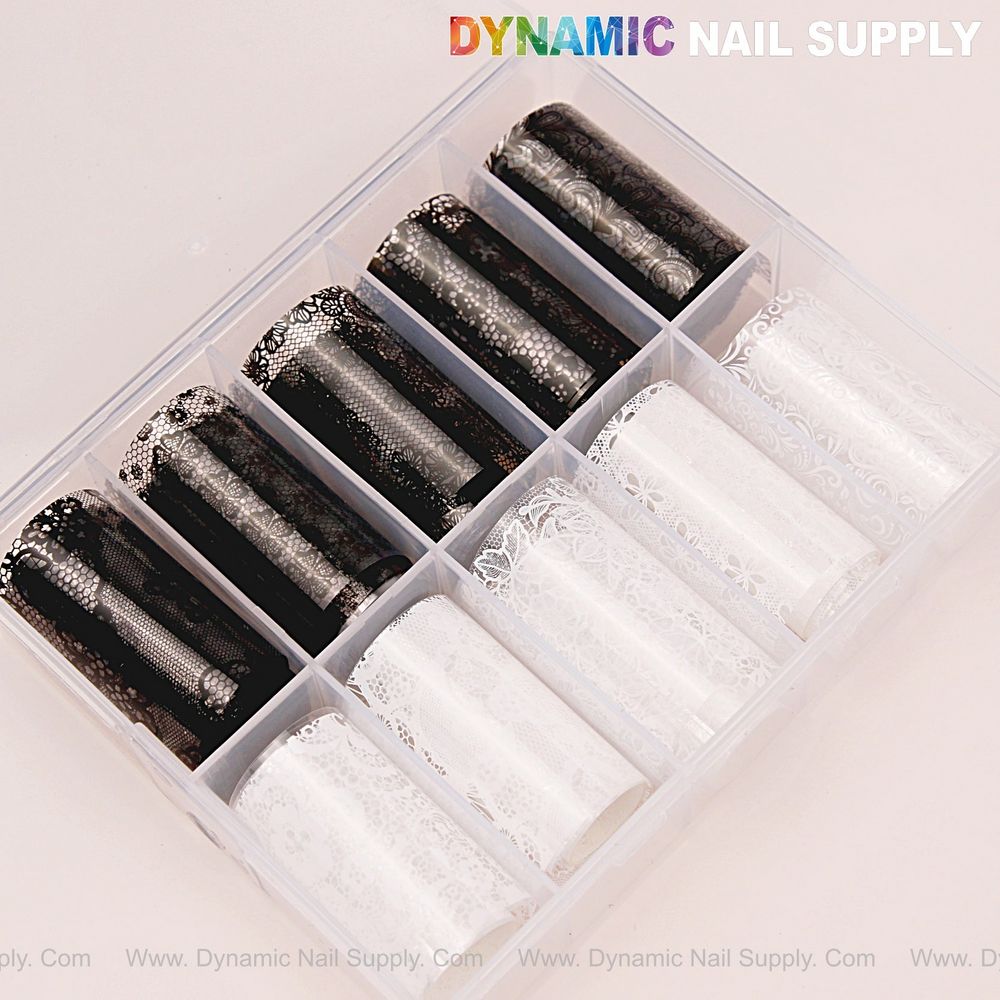
For alternating white and black lace nails or for reverse French shapes, repeat the same glue-and-press routine, choosing either the white or black lace panels from the set for each nail.
For meticulous white tip placement and matching black motifs, consider using white and black lace nail foil in separate compartments to choose the best scale for each nail.
Sealing, curing and achieving a photo-ready sheen
Once the lace transfers are inspected and any tiny edges smoothed, sealing is essential for longevity and shine.
- For gel: apply a thin, no-wipe glossy topcoat and cure according to product directions. Avoid dragging too much topcoat into the lace line to preserve crisp edges; brush from the center outward.
- For regular polish: allow the transfer to sit for a few minutes, then seal with two layers of high-shine topcoat, letting the first thin layer level the edges before adding a second for depth.
- For acrylic: a gel topcoat can be used over acrylic if compatible, or a strong glossy sealing lacquer; always test compatibility first.
Finish by cleaning the cuticle area and wiping any residue. The high-gloss carrier film visible in the foil set enhances reflective highlights; sealing locks that reflective detail into the final finish.
Troubleshooting, tips and common mistake callouts
Common mistake: applying transfer glue too thickly so the lace blurs instead of transferring crisply.
If the pattern appears fuzzy, remove the failed transfer gently with alcohol, re-clean the surface, and retry with a thinner glue layer. For partial transfers, rub the carrier film again firmly; some fine mesh patterns respond to a second pressure pass. If the foil lifts at the free edge of the tip, ensure the topcoat fully encapsulates the edge without pooling at the cuticle.
- Scale matters: choose narrow motifs on the white foil for narrow nail beds to keep the French tip readable.
- Work quickly with solvent-based adhesives; they reach tackiness fast and demand prompt placement.
- For photo shoots, add one extra thin layer of topcoat to amplify the high-shine mirror effect of the foil.
- Avoid over-buffing before transfer; the foil needs a slightly smooth but not aggressively abraded surface to adhere cleanly.
Safety, handling and care notes
Handle thin foil carefully to avoid sharp edges. Use adhesives and solvents in a ventilated area to minimize inhalation of fumes. Keep foil sheets away from direct heat and open flame. Store remaining foil in a dry place, flat and in its compartment, to prevent creasing of the delicate printed linework.
Who should buy White and Black Lace Nail Foil 1
This set is ideal for advanced home manicure fans and nail techs who want a focused monochrome toolkit: it contains both white and black lace panels and very fine printed motifs that make white french tips on black nails precise and camera-ready. At the listed price of $6, the compact kit is a convenient add-on for anyone aiming to deliver bold, high-contrast Frenchs with vintage detail and modern shine (prices may change).