
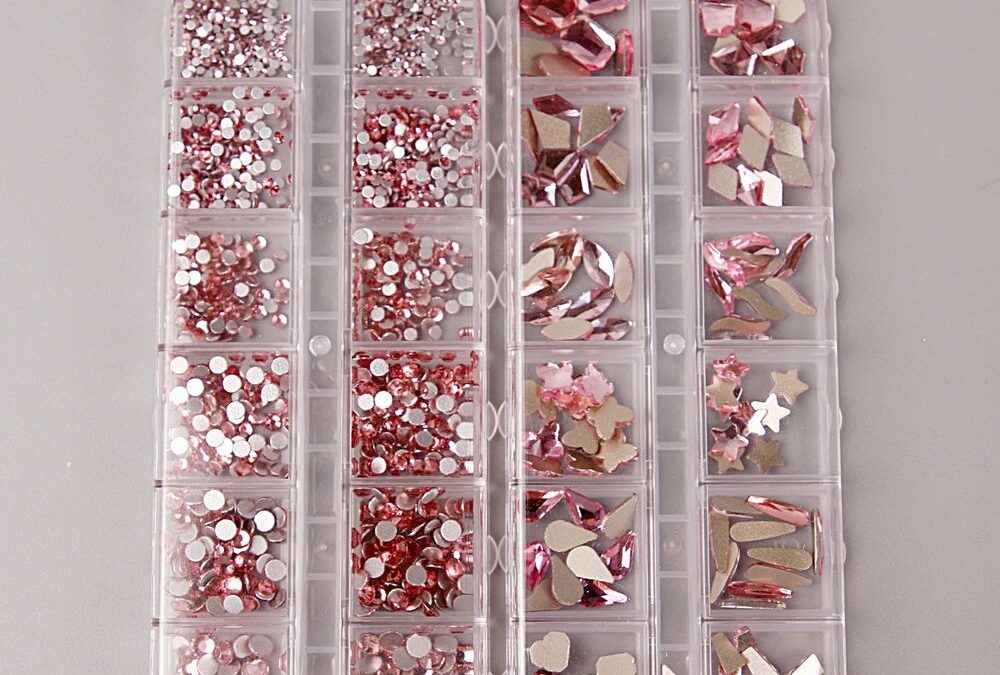
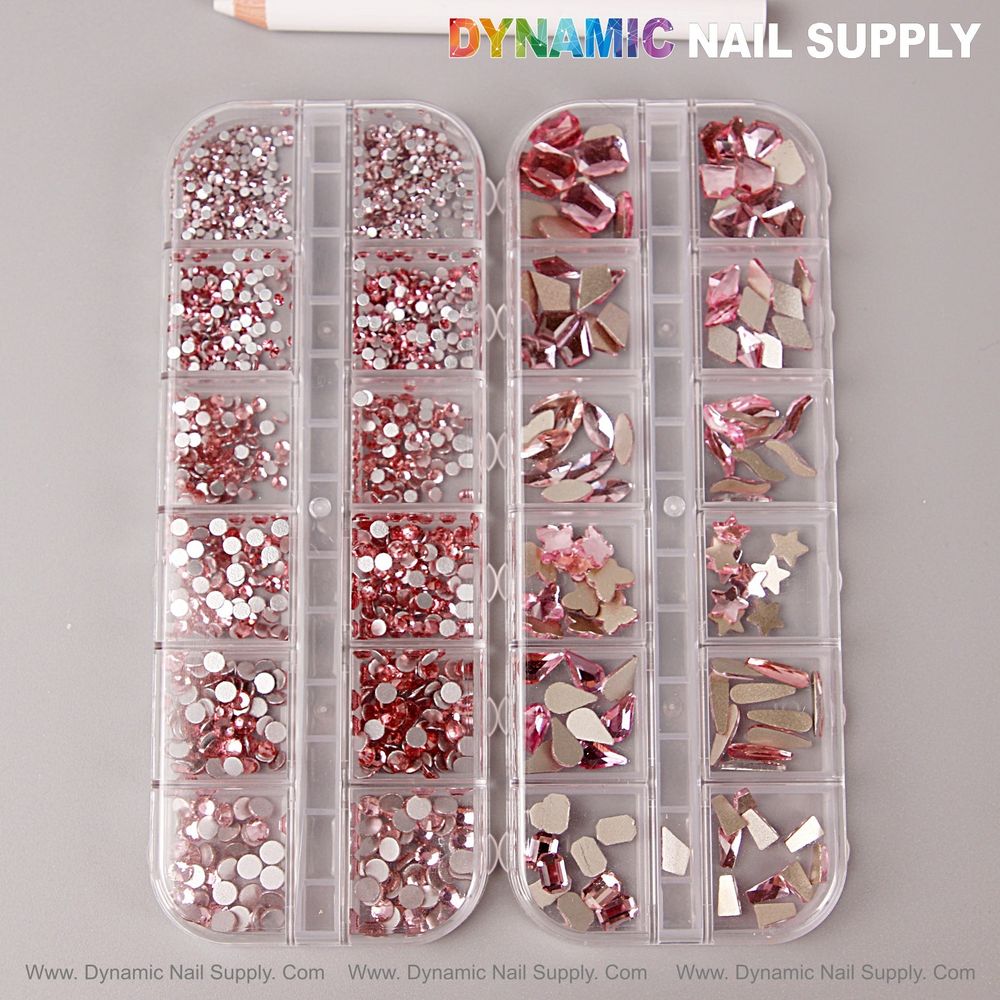
The Pink multi-shape flat-back crystal gem set is a rose-pink focused rhinestone kit with mixed round and specialty shapes, presented with application tools and storage boxes for precise, romantic bridal nail art.
Design Overview: romantic palettes and where the Pink multi-shape set shines
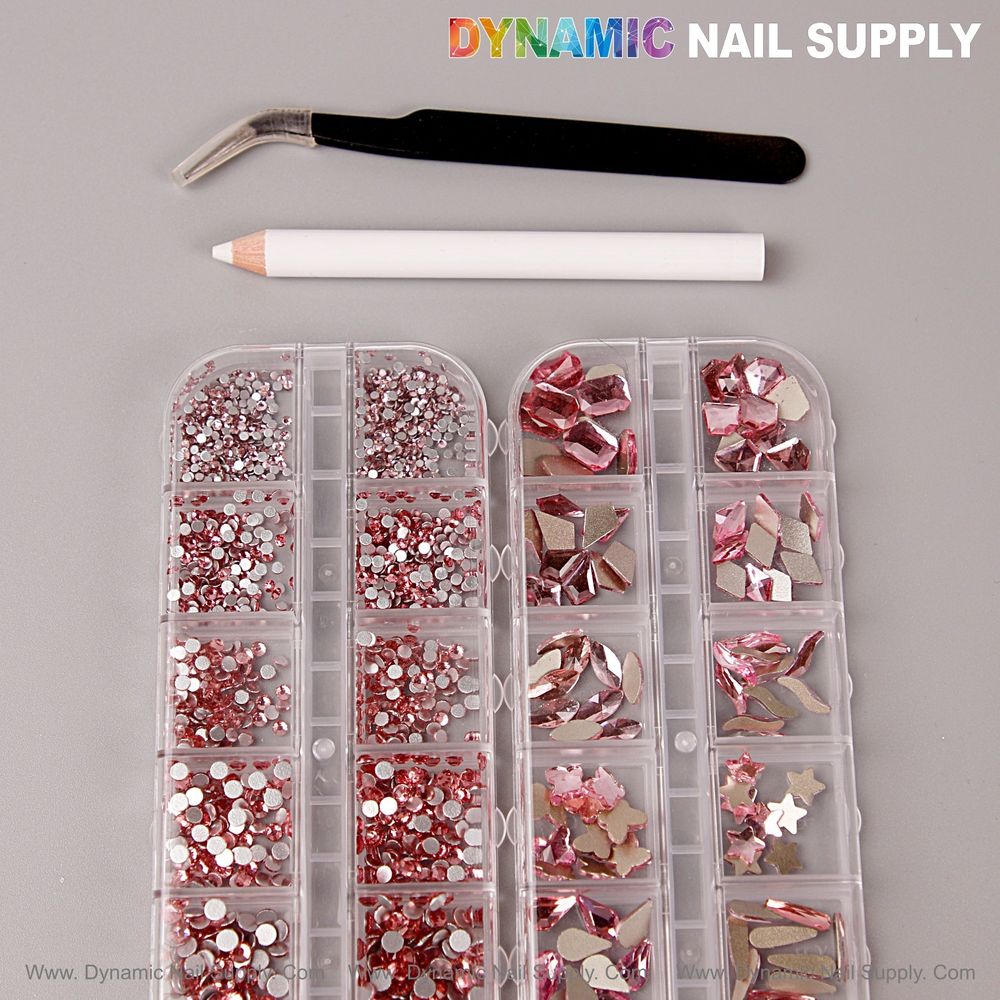
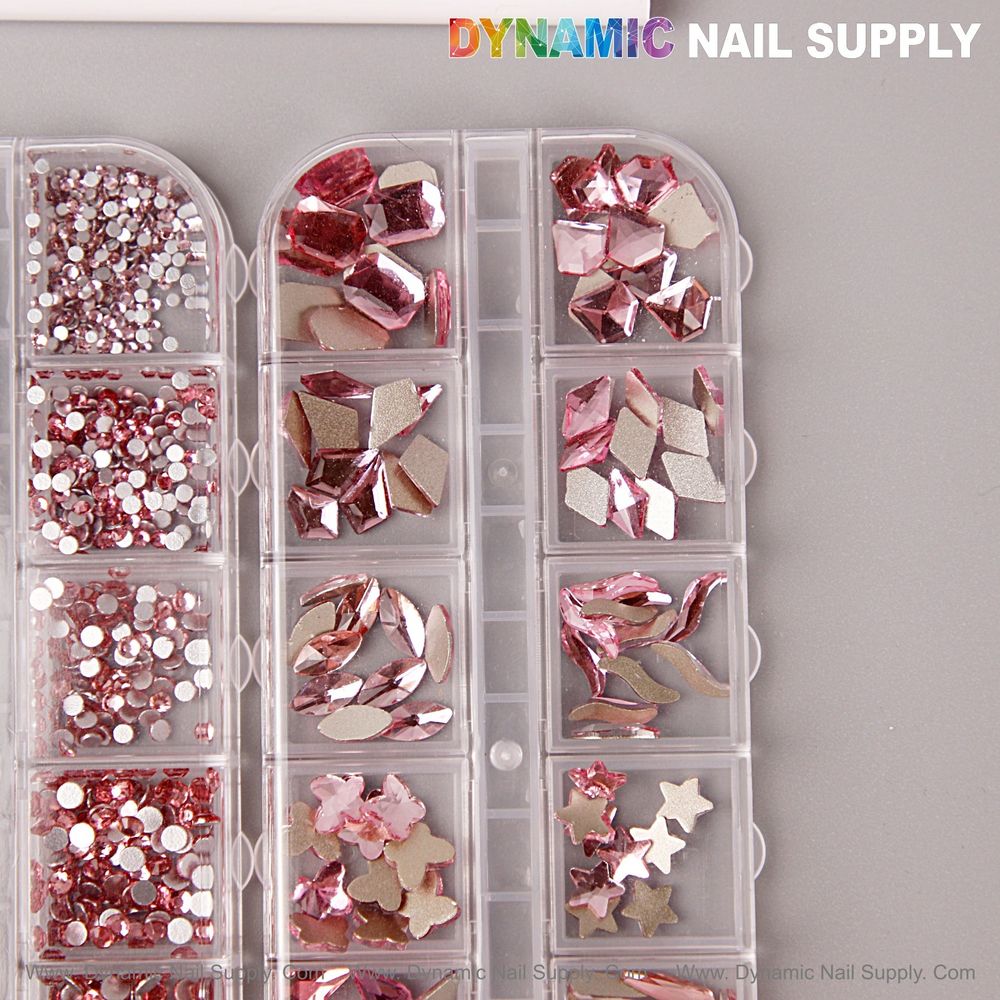
This particular set centers on pale rose-pink and deeper metallic rose-pink crystals with mirror-like silver backs; the mix of rounds, teardrops, marquise cuts and tiny star shapes creates an intrinsically bridal mood. The combination of clear highlights and reflective silver backs reads delicate and feminine on a soft matte or glossy base, so it suits everything from a nude ceremony manicure to a full-coverage embellished accent. Practical strengths are the range of sizes and the included tweezer and wax pick, which make precise placement simple for a home DIY enthusiast aiming for salon-quality results.
Essentials before beginning: tools, adhesives and surface prep
Gather the kit, a reliable nail rhinestone glue or a gem gel suited to curing under LED/UV, and a clear topcoat or builder gel for sealing. The kit includes a black angled tweezer and a white wax picker; these handle faceted pieces without scratching mirror backs. Common mistake: applying gems over a freshly applied tacky layer—ensure base color is fully cured or dry so the adhesive bonds directly to a stable surface. For gel manicures, cure the color fully then apply a thin layer of a non-wipe clear gel if using builder gel to anchor heavier shapes.
For brides assembling a cohesive set quickly, pink multi-shape kit simplifies selection by offering a ready-made rose-pink mix in multiple sizes and shapes.
Five rose pink bridal nails, with step-by-step placement and sealing tips
1. Soft-pink full-coverage accent
Why it works: a single all-over crystal accent nail reads couture when the rest of the hand is a soft blush or neutral. Use the kit’s larger round sizes and several marquise cuts to build a compact mosaic that sparkles from every angle.
- Paint and fully cure or dry a soft blush base on the accent nail.
- Plan the layout on a flat surface: start with a central large round crystal, surround it with alternating smaller rounds and narrow marquise pieces to create an oval cluster.
- Apply a small drop of rhinestone glue where each gem will sit; use the wax pencil to pick up the gem and place it precisely. Hold each piece for a few seconds until it seats.
- Allow glue to set according to the manufacturer, then finish with a thin brush of builder gel or a layer of clear gel over and around larger gems; cure if using gel.
- Topcoat adjacent nails only—avoid coating the gems so their facets remain bright, unless encapsulation is desired for long-term wear.
2. Clustered teardrop focal
Why it works: teardrops read like vintage pendants on a bridal hand; pairing them with tiny rounds produces a luxe focal at the nail base or tip.
- Choose a translucent or nude base; cure or dry completely.
- Position one teardrop with its point toward the free edge or cuticle depending on focal placement. Use glue sparingly; too much adhesive will ooze and dull facets.
- Surround the teardrop with two or three small pink rounds and one clear highlight to increase dimensionality.
- Secure with a small bead of gel around the largest pieces and cure if applicable to anchor without filling every gap.
3. Rose-gold French with scattered rounds
Why it works: a metallic rose-gold French paired with scattered tiny rounds from this pink set creates subtle sparkle without overwhelming a classic shape.
- Paint the French tips in a rose-gold or metallic pink polish and cure/dry.
- Using the smallest rounds in the kit, place one or two stones on alternate nails near the smile line—keep spacing airy.
- Use a minute dot of glue; press gently with the tweezer and wipe any excess adhesive immediately.
- Seal the painted surface with a glossy topcoat, carefully working around each gem so adhesive remains intact.
4. Nude bridal manicure with tiny star accents
Why it works: a barely-there nude manicure brightens with punctuation from small star-shaped crystals, ideal for brides who want restrained sparkle.
- Apply a neutral, skin-toned base and cure/dry.
- Place stars at the base of alternating nails—two to three nails per hand for balance.
- Anchor each star with a pinpoint of adhesive and press lightly with the tweezer; avoid rotating star facets once set to keep mirror backs pristine.
- Finish with a thin, even topcoat across the nail but leave the star tops exposed if a pronounced 3D look is preferred; otherwise, encapsulate with gel for lasting security.
5. Ombre pink gel with single-stone focal points
Why it works: a soft ombre provides a romantic backdrop; a single larger round or marquise placed near the cuticle reads elegant and intentional.
- Create an ombre from pale rose to blush using a sponge or a gel ombre technique and cure layers as instructed.
- Pick a single medium round or marquise from the kit that contrasts slightly with the ombre’s hue.
- Use builder gel to adhere the gem at the chosen focal point and cure fully to lock its base. Common mistake: using superglue on gel—superglue may not flex with gel manicures and can lift; choose gel-compatible adhesives.
- Apply a surrounding thin bead of clear gel and cure to integrate the focal piece into the ombre canvas.
Sealing strategies and wear longevity
Seal small rounds with a thin topcoat around their bases rather than over the whole stone to keep sparkle. For larger or multi-shape clusters, encapsulation with builder gel around but not over facets preserves brilliance while providing strong adhesion. If using glue only, inspect edges weekly and press any loose pieces back into place with a tiny drop of adhesive. Note that rhinestones in this kit are flat-back; they rely entirely on an external adhesive—glue is not included.
Home DIYers often ask about balancing sparkle and comfort: concentrate heavier clusters on one or two nails and keep the rest minimal so the hand remains wearable for daily tasks without catching fabrics or headpieces.
Final notes: safety, maintenance and who should buy
Safety note: these are small parts; keep them away from children under three and store the trays closed. When removing rhinestones, avoid prying to protect the natural nail—soften adhesive with an appropriate remover and gently lift. Prices may change, and the kit is frequently an economical choice for DIY brides seeking a curated rose-pink crystal selection.
Who should buy: a home DIY manicure fan who wants polished, romantic rose pink bridal nails without assembling multiple palettes will find this pink multi-shape set convenient and time-saving; it is ideal for anyone building a signature bridal look with mixed shapes and controlled sparkle.