
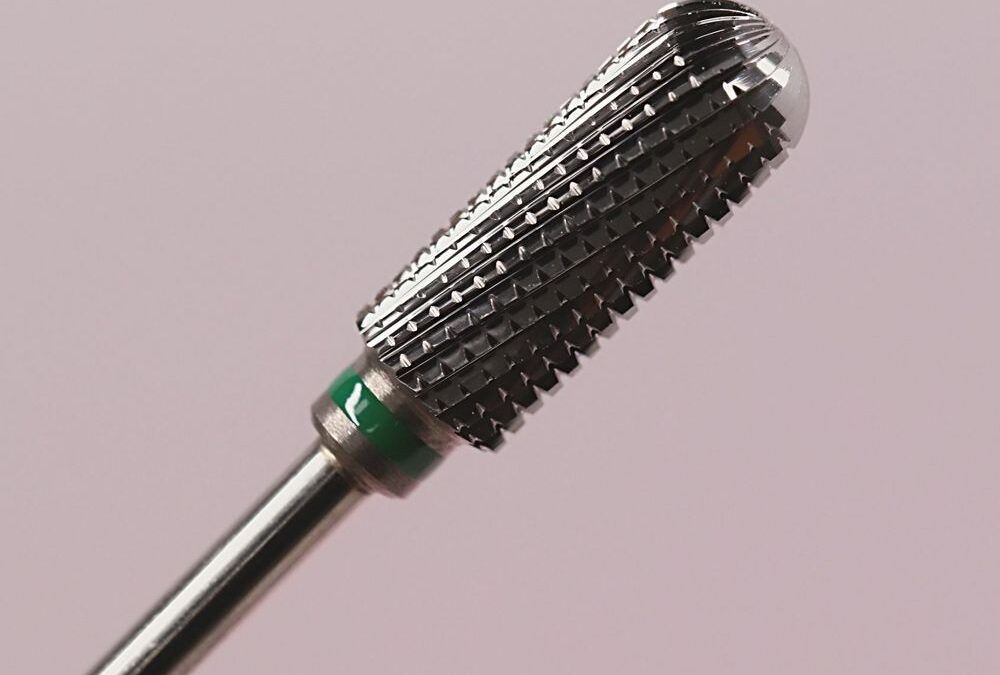
Round-top coarse removal carbide bit with a cross-spiral cutting pattern, reflective chrome finish, and a narrow green identifier band.
Product Overview: round-top cross spiral removal bit details
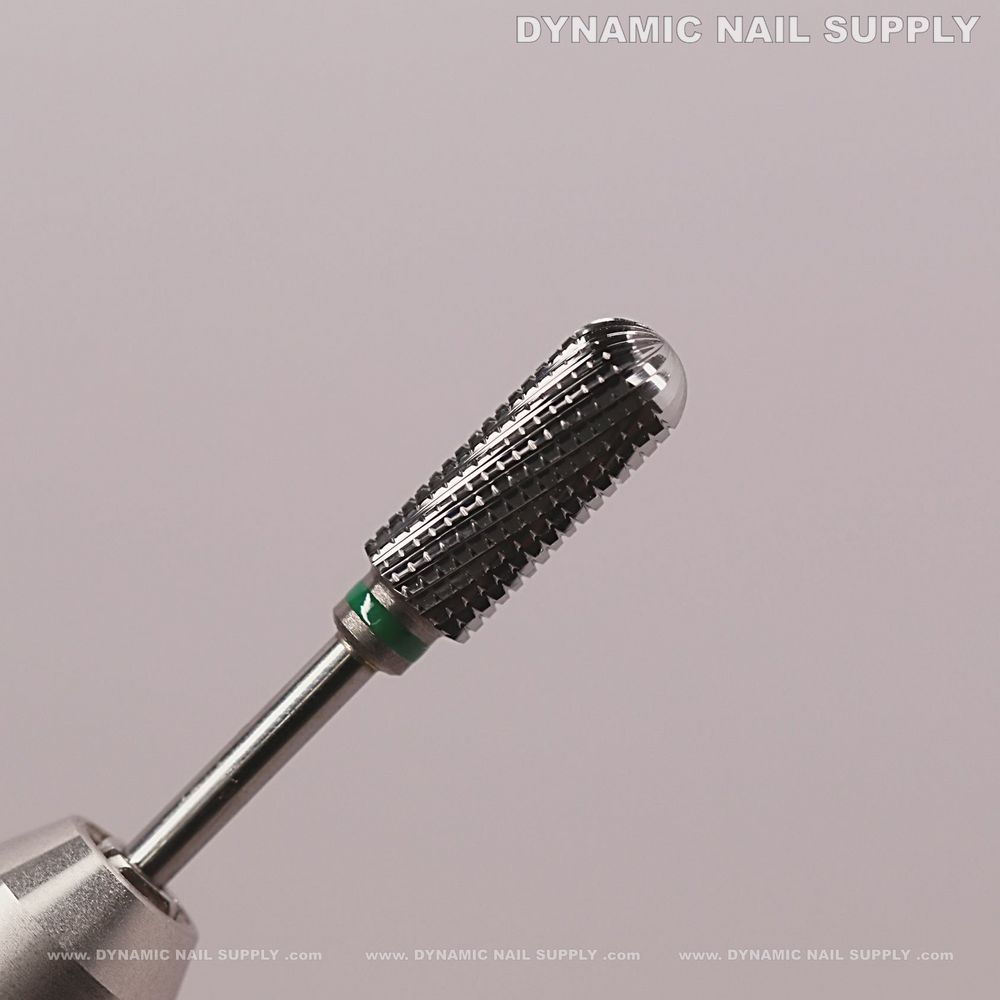
The Cross Spiral Cut Coarse Removal Bit Round Top is a carbide removal tool with a highly reflective, chrome-polished head, visible cross-spiral cutting ridges and a narrow green band near the base that marks its size or grit. Crafted from tungsten carbide and stainless steel, it is designed for fast removal of acrylic, hard gel, and dipping products while producing less dust and heat than many alternatives.
Design-led inspiration: industrial metallic nail art that complements the tool
The bit’s chrome surface, coarse spiral teeth and gunmetal highlights suggest a manicure direction that emphasizes metallic texture and precision. Ideal looks include full chrome or mirror silver nails, industrial ombré from steel to gunmetal, minimalist silver tips with a thin green accent line that echoes the bit’s marker, and negative-space hardware manicures that use tiny textured steel elements as focal points. Rather than simply matching color, this tool inspires finishes that read as engineered and precise—textured accents, delicate chrome inlays and matte steel backgrounds topped with reflective ridges.
Step-by-step showcase: textured chrome accent manicure using the removal bit
This step-by-step executes one bold statement idea that puts the bit’s shape and texture to work: a matte gunmetal base with chrome ridged accents that mimic the bit’s spiral teeth.
- Prep the nail: File and lightly buff natural nails, push back cuticles and remove dust. Apply a base coat appropriate for enhancements and cure if required.
- Apply base color: Paint two thin coats of a matte gunmetal polish or airbrush base and cure or dry thoroughly. The matte surface creates contrast with chrome accents.
- Create chrome inlay shapes: Use chrome powder or mirror polish to add small half-moons or narrow strips where you want the ridged accent to sit; do not topcoat yet if using chrome powder techniques.
- Mark the accent line: With a fine brush, place a thin emerald-green line or dot at one corner of the chrome inlay to echo the bit’s narrow green band—this small marker reads like a tool signature on the nail.
- Texture with the removal bit: At very low speed and with light, controlled contact, hold the round-top cross spiral removal bit parallel to the chrome accent and gently drag it across the chrome in short strokes to create a ridged reflection that mirrors the bit’s spiral cut. Only work on cured, hardened surface finishes meant to accept mechanical texture—do not use on soft uncured layers.
- Refine edges: Switch to a finer finishing bit or fine buffer to clean any unintended burrs on the chrome inlay edges; keep the textured area distinct while smoothing surrounding surfaces.
- Seal the look: Apply a no-wipe gloss topcoat over chrome areas if you want mirror shine, or use a satin/gel topcoat over the matte base while carefully avoiding the textured channel if you want the ridges to remain tactile. Cure according to product instructions.
Common mistake:
Common mistake: working at too high a drill speed or applying heavy pressure when texturing the chrome—this can overheat or gouge the surface and obscure the intended ridged effect.
Technique, speed and safety when using carbide removal bits
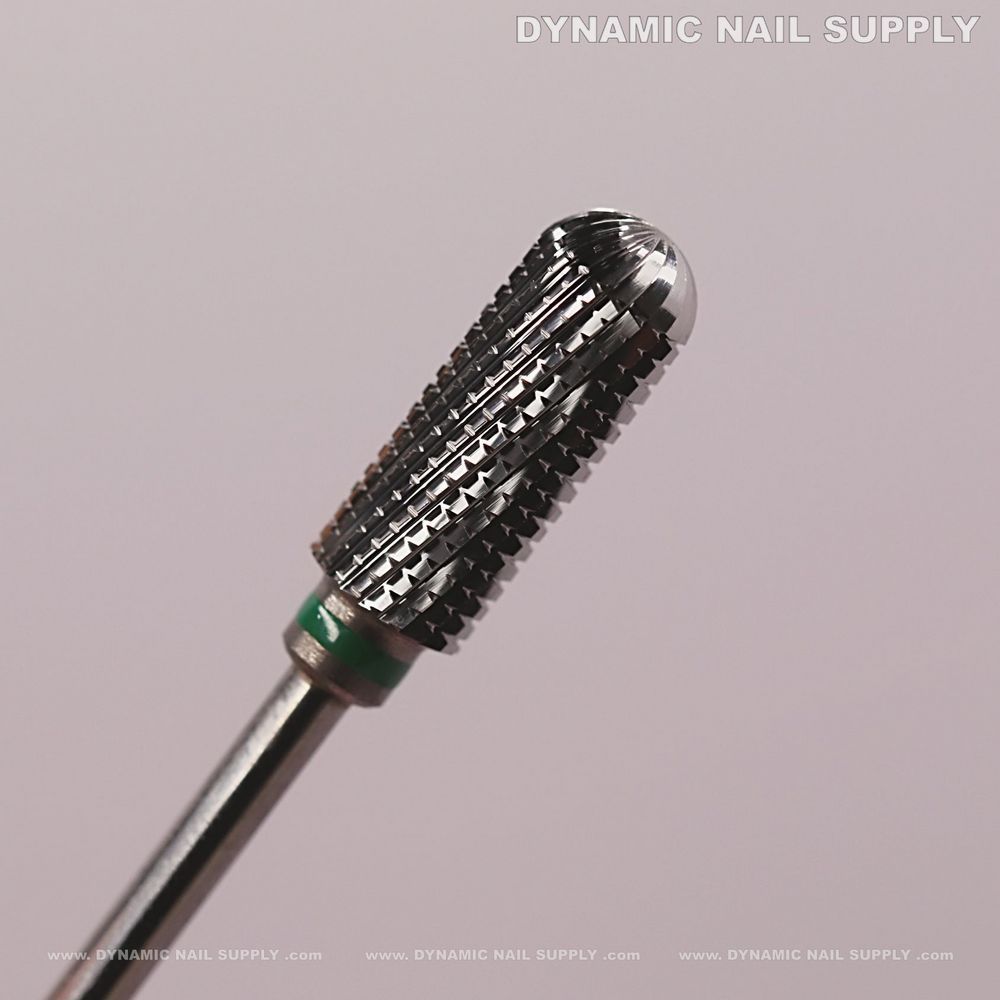
The round-top cross spiral removal bit is a coarse carbide instrument, intended primarily for removal and for creating controlled texture on hardened surfaces. Use low to moderate handpiece speeds for texturing work—higher speeds increase friction and heat even with carbide’s lower dust production. Maintain a steady wrist and brief contact times; let the bit’s cutting pattern do the work rather than forceful pressure.
Because this bit removes product quickly, consider these practical handling guidelines:
- Wear eye protection and a mask when performing any mechanical removal to limit exposure to particulates.
- Keep the work area ventilated and use a dust-collection system when removing bulk product.
- Inspect the bit before use: a reflective, intact cutting surface indicates it is ready for precise work; damaged carbide edges can chatter and mar finishes.
- Clean the bit after use with a brush and appropriate solvent; sterilize according to equipment guidelines without aggressive impacts that could chip the carbide.
Common mistake:
Common mistake: neglecting to switch to a finishing bit after removal or texture work—skipping refinement can leave sharp edges and a rough feel on the nail.
Choosing and caring for this removal bit
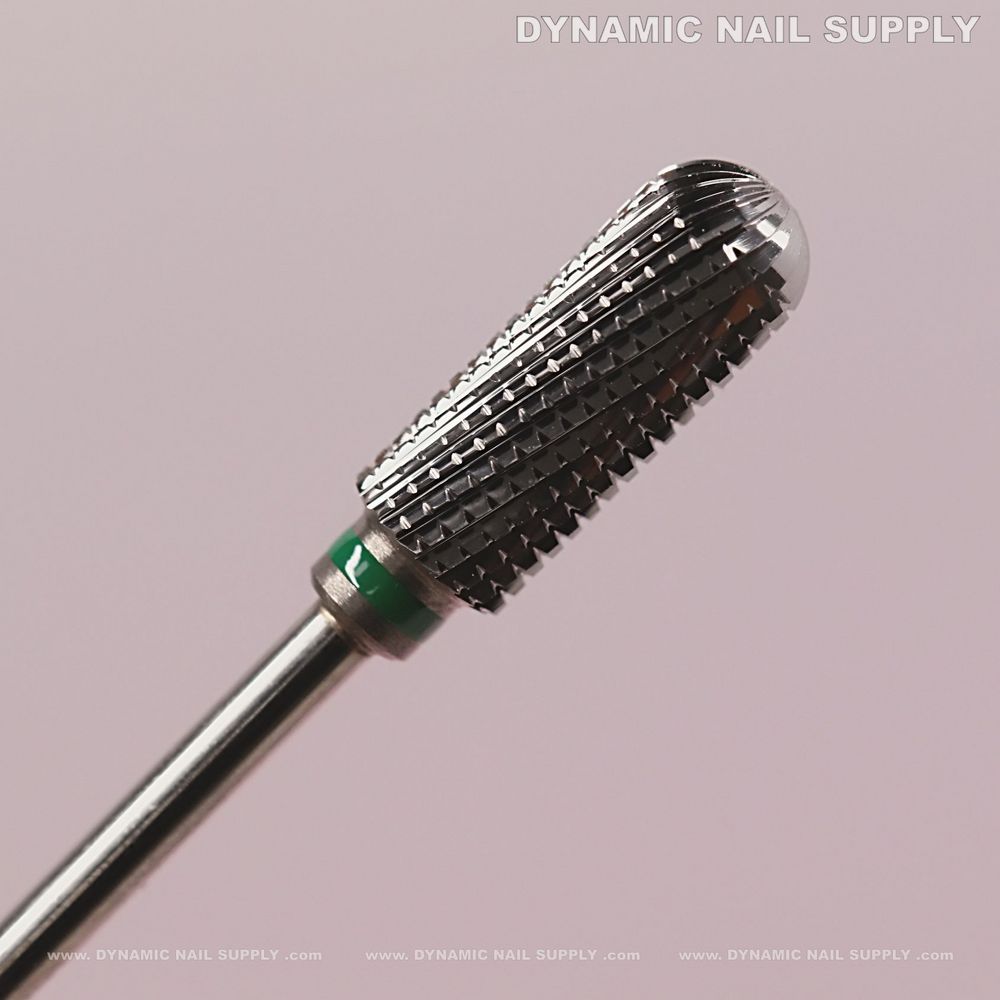
Select the round-top cross spiral removal bit when the goal is rapid removal of acrylics and hard gels or when creating a defined textured accent that echoes industrial finishes. Its reflective chrome and visible spiral teeth make it especially suited to manicures where metallicity and texture are central design elements.
Care for the bit by cleaning debris after each use and storing it in a protective case to prevent dings to the cutting head. Periodically check for wear; carbide bits are long lasting but will eventually lose cutting efficiency with heavy professional use. At the time of publication this style is available for $19.99 and prices may change.
Final notes and who should buy
For the DIY manicure fan who values precision, engineered texture and metallic finishes, the cross spiral removal bit offers both removal performance and a tool-driven way to incorporate textured chrome accents into home manicures. It suits makers who work carefully with a drill, prefer bold industrial nails, and understand basic tool safety and aftercare. For home users aiming to add hardware-inspired ridged effects that reflect the tool’s design, consider the cross spiral removal bit as a purposeful addition to the kit; cross spiral removal bit